
Above Ground Pool Light Installation: Don’t Be Left In The Dark
Why Above Ground Pool Light Installation Is Worth Every Step
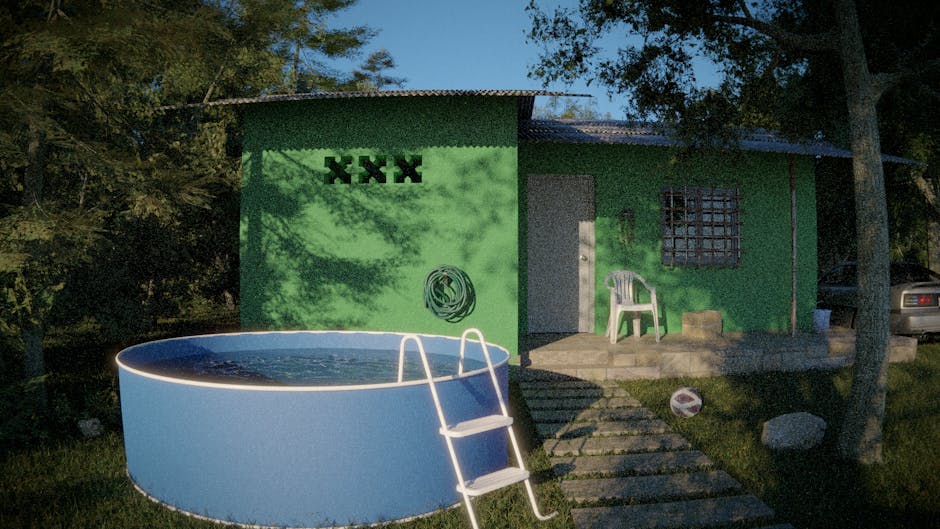
Above ground pool light installation transforms your backyard into a glowing nighttime retreat — and it’s more achievable than most homeowners think.
Here’s a quick overview of how it works:
- Choose your light type — return jet lights, surface-mounted lights, or LED strip lights
- Gather your tools — screwdriver set, voltage tester, thread seal tape, multimeter
- Prepare your power source — connect to a GFCI-protected outlet; use a low-voltage transformer
- Install the fixture — follow the method for your chosen light type (no drilling required for many options)
- Test and maintain — check for leaks, inspect wiring, and winterize before the cold season
The payoff is real. LED pool lights use 80% less power than traditional incandescent bulbs and can last up to 50,000 hours. A well-lit pool can even boost your home’s resale value by up to 7%.
Beyond looks, pool lighting serves a genuine safety purpose — it helps swimmers and bystanders see clearly after dark.
The good news? Many above-ground pool light options are designed specifically for DIY installation, with no new holes to drill and no complicated wiring. But some steps — especially grounding and bonding — may require a licensed electrician depending on your local codes.
This guide walks you through everything, from picking the right fixture to flipping the switch.

Choosing and Preparing for Your Above Ground Pool Light Installation
Before you grab your screwdriver, you need to determine exactly how much light your pool requires. A common industry standard is to install one light for every 20m² of water surface area. For deeper pools, professionals often recommend one light for every 25m³ of water volume to ensure the beam reaches the floor.
For most standard above-ground pools up to 30 feet in diameter, a single high-quality LED light is often sufficient. However, if you have an oval pool or a particularly large setup, you might consider two or three lights to eliminate dark spots and shadows.
Selecting the Best Fixtures for Above Ground Pool Light Installation
There is no “one size fits all” when it comes to pool lighting. Your choice depends on whether you want a permanent “built-in” look or a quick, non-invasive upgrade.
- LED Strip Lights: These are increasingly popular for their ability to provide even, perimeter lighting. By running these along the underside of the top rail, you can illuminate the entire circumference of the pool. Ensure you use IP68-rated strips for full submersion or IP67 for splash zones.
- Return Jet Lights: Products like the AquaLuminator are ingenious because they replace your existing return eyeball fitting. This provides an underwater light source without requiring you to cut new holes in your pool wall.
- Surface-Mounted Lights: These often hang over the side of the pool wall or attach via magnets. They are excellent for retrofitting older pools because they require zero modifications to the structure.
- Halogen Lights: While halogen offers a vibrant, warm glow that some prefer for parties, they are less energy-efficient than LEDs. A halogen bulb might last 5,000 hours, whereas an LED can reach 50,000 hours.
For a deeper dive into the technology behind these options, check out everything you need to know about swimming pool lights.
| Feature | LED Lights | Halogen Lights | Solar/Floating |
|---|---|---|---|
| Lifespan | Up to 50,000 Hours | ~5,000 Hours | Varies (Battery dependent) |
| Energy Use | Low (80% savings) | High | Zero (Solar) |
| Brightness | High/Adjustable | High | Low/Ambient |
| Installation | Moderate | Moderate | Very Easy |
Essential Tools and Safety Precautions for Installation
Safety is the absolute priority when mixing electricity and water. In Northeastern Pennsylvania, local codes often follow National Electrical Code (NEC) Article 680, which dictates how pool lighting must be grounded and bonded.
The “Must-Have” Tool List:
- Phillips and Flat-head Screwdrivers: For securing fixtures and faceplates.
- Multimeter: To verify that power is truly off and to test for proper voltage.
- Voltage Tester: A quick way to ensure no “stray” current is present.
- Thread Seal Tape (Teflon Tape): Essential for return jet light installations to prevent leaks.
- Fish Tape: Useful if you are pulling long runs of wire through conduit.
- Silicone Lubricant: For O-rings and gaskets to ensure a watertight seal.
Safety Rules to Live By:
- Cut the Power: Never work on a pool light while the circuit breaker is on.
- Dry Hands, Dry Ground: Ensure the area around the electrical outlet is dry before plugging anything in.
- Use Low Voltage: Most modern above ground pool light installation kits use 12V or 24V systems. These are much safer than 120V systems because the risk of a lethal shock is significantly reduced.
Electrical Requirements and GFCI Power Connections
Every pool light must be connected to a Ground Fault Circuit Interrupter (GFCI). This device is designed to shut off electric power in as little as 1/40th of a second if it detects a current leak.
If you are installing a transformer—which steps down your home’s 120V power to a safer 12V or 24V—it should be mounted on a vertical surface at least 18 inches above the ground and at least 10 feet away from the pool edge. For permanent installations, conduit should be buried 2 to 3 feet deep to protect it from lawnmowers, shovels, and Pennsylvania’s freeze-thaw cycles.
Proper planning here is a major part of pool installation success. If you aren’t comfortable wiring a new junction box or handling bonding wires, this is the stage where you should call a professional electrician.
Step-by-Step Guide to Above Ground Pool Light Installation
Once you have your equipment and safety plan in place, it’s time to get wet—or at least get close to the water.
Step-by-Step Above Ground Pool Light Installation for Return Jets
The return jet light is one of the most popular choices because it looks professional and “built-in.” The AquaLuminator pool light is a prime example of this technology.
- Lower the Water Level: You must drain the pool water to just below the return jet cutout. If you remove the fitting while water is pressing against it, you risk the pool liner shifting or tearing.
- Remove the Existing Fitting: Unscrew the old “eyeball” return jet and the locking nut from the outside of the pool.
- Prepare the Light Body: Apply thread seal tape to the threaded wall flange of the new light. Wrap the tape clockwise (the same direction you will screw it in) to ensure it stays snug.
- Install the Fitting: From the inside of the pool, push the light fitting through the hole. On the outside, tighten the fitting body. A pro tip: start with the inlet port at the 3 o’clock position, hand-tighten the flange, and then rotate the entire body to the 6 o’clock position to ensure a perfect, tight fit.
- Insert the Bulb Assembly: Align the keyway on the bulb assembly with the key on the fitting body. Push it in and secure it with the retainer nut.
- Connect the Power: Connect the wire leads to the transformer. Most kits use a “snap-on” cap. Ensure the cord points straight down toward the ground to prevent water from “wicking” into the connection.
- Refill and Test: Once the hoses are reattached and the water is back to its normal level, flip the switch!
If you’d prefer to leave the heavy lifting to the experts, you can always look into pool light installation services to ensure a leak-free result.
Installing Surface-Mounted and LED Strip Lighting
If you don’t want to drain your pool or mess with the plumbing, surface-mounted or LED strip lighting is the way to go. These options are incredibly popular for above-ground pools because they are “plug-and-play.”
For LED Strip Lighting:
- Measure the Perimeter: Calculate the circumference of your pool. For a 21-foot round pool, you’ll need about 66 feet of lighting.
- Clean the Surface: Use rubbing alcohol to clean the underside of the top rail where the lights will stick.
- Mount the Strips: Most strips come with adhesive backing, but in the humid environment of a pool, it’s wise to use plastic mounting clips or zip ties every 12 inches for extra security.
- Waterproof the Connections: Place the controller and any pigtail connectors in a waterproof junction box. Even if the strips are IP68, the “brain” of the system usually isn’t.
For Over-the-Wall Lights (like the Smartpool Nightlighter):
- Remove the Top Cap: Temporarily remove the decorative cap on one of the pool’s vertical posts.
- Slide and Secure: Slide the mounting bracket over the pool wall. Most use a thumbwheel that you tighten clockwise until the bracket is flush with the wall.
- Positioning: Ensure the light is submerged at the depth recommended by the manufacturer (usually 8-10 inches below the top).
- Route the Wire: Run the power cord through the channel in the bracket so it isn’t pinched when you replace the top rail and cap.
Troubleshooting, Maintenance, and Winterizing Your Pool Lights
Even the best above ground pool light installation requires a little TLC to stay bright year after year.
Troubleshooting Common Issues:
- Light won’t turn on: Check the GFCI outlet first. These often “trip” during rainstorms. If the outlet is fine, use a multimeter to check the output of the transformer.
- Water inside the lens: This usually means a gasket has failed. Disassemble the unit, dry it completely, and replace the O-ring or gasket using a fresh coat of silicone lubricant.
- Flickering: This often points to a loose connection or a “voltage drop” if your wire run is too long. Ensure all wire nuts are tight and waterproof.
Winterizing Your Lights: In regions like Scranton or Wilkes-Barre, PA, freezing water can crack light housings.
- For Return Jet Lights: Remove the bulb assembly from the fitting. Most kits provide a “red winter plug” to seal the hole. Store the bulb assembly indoors where it won’t freeze.
- For LED Strips: If they are mounted above the waterline, they can usually stay in place, but ensure the power supply is disconnected and stored in a dry area.
- For Hanging Lights: Simply unplug them, dry them off, and store them in your garage or basement for the winter.
If you find yourself needing replacement parts or a new transformer, you can always shop swimming pool supplies in Wilkes-Barre, PA to get your system back up and running.
Whether you are in Doylestown or Dickson City, adding light to your pool is one of the best ways to maximize your investment. It extends your swimming hours well into the evening and creates a stunning atmosphere for backyard barbecues. By following these steps and prioritizing safety, you’ll ensure your pool remains a bright, beautiful oasis for years to come.
Posted by chris@enx2marketing.com in Pools