
How to Clean Up After Pool Installation in 5 Simple Steps
From Construction Zone to Crystal Clear: The Post-Installation Pool Cleanup Guide
Cleaning up from a pool installation is a critical step that many new pool owners underestimate. That beautiful new swimming pool you’ve just had installed might look ready for its first splash, but the reality is quite different. A typical new pool installation can introduce 10-20 pounds of construction dirt and debris into the water, requiring multiple rounds of vacuuming and filtration to clear completely.
The construction process inevitably leaves behind various types of debris, from larger items like rocks and building materials to fine particles like plaster dust, sand, and soil that can keep your water cloudy for days. Without proper cleanup, these materials can damage your new equipment, stain your pool surfaces, or create ongoing maintenance headaches.
The good news? With a systematic approach, you can efficiently remove construction debris and achieve crystal-clear water. The process isn’t complicated, but it does require patience and attention to detail.
5-Step “Clean Up from Pool Installation” Game Plan
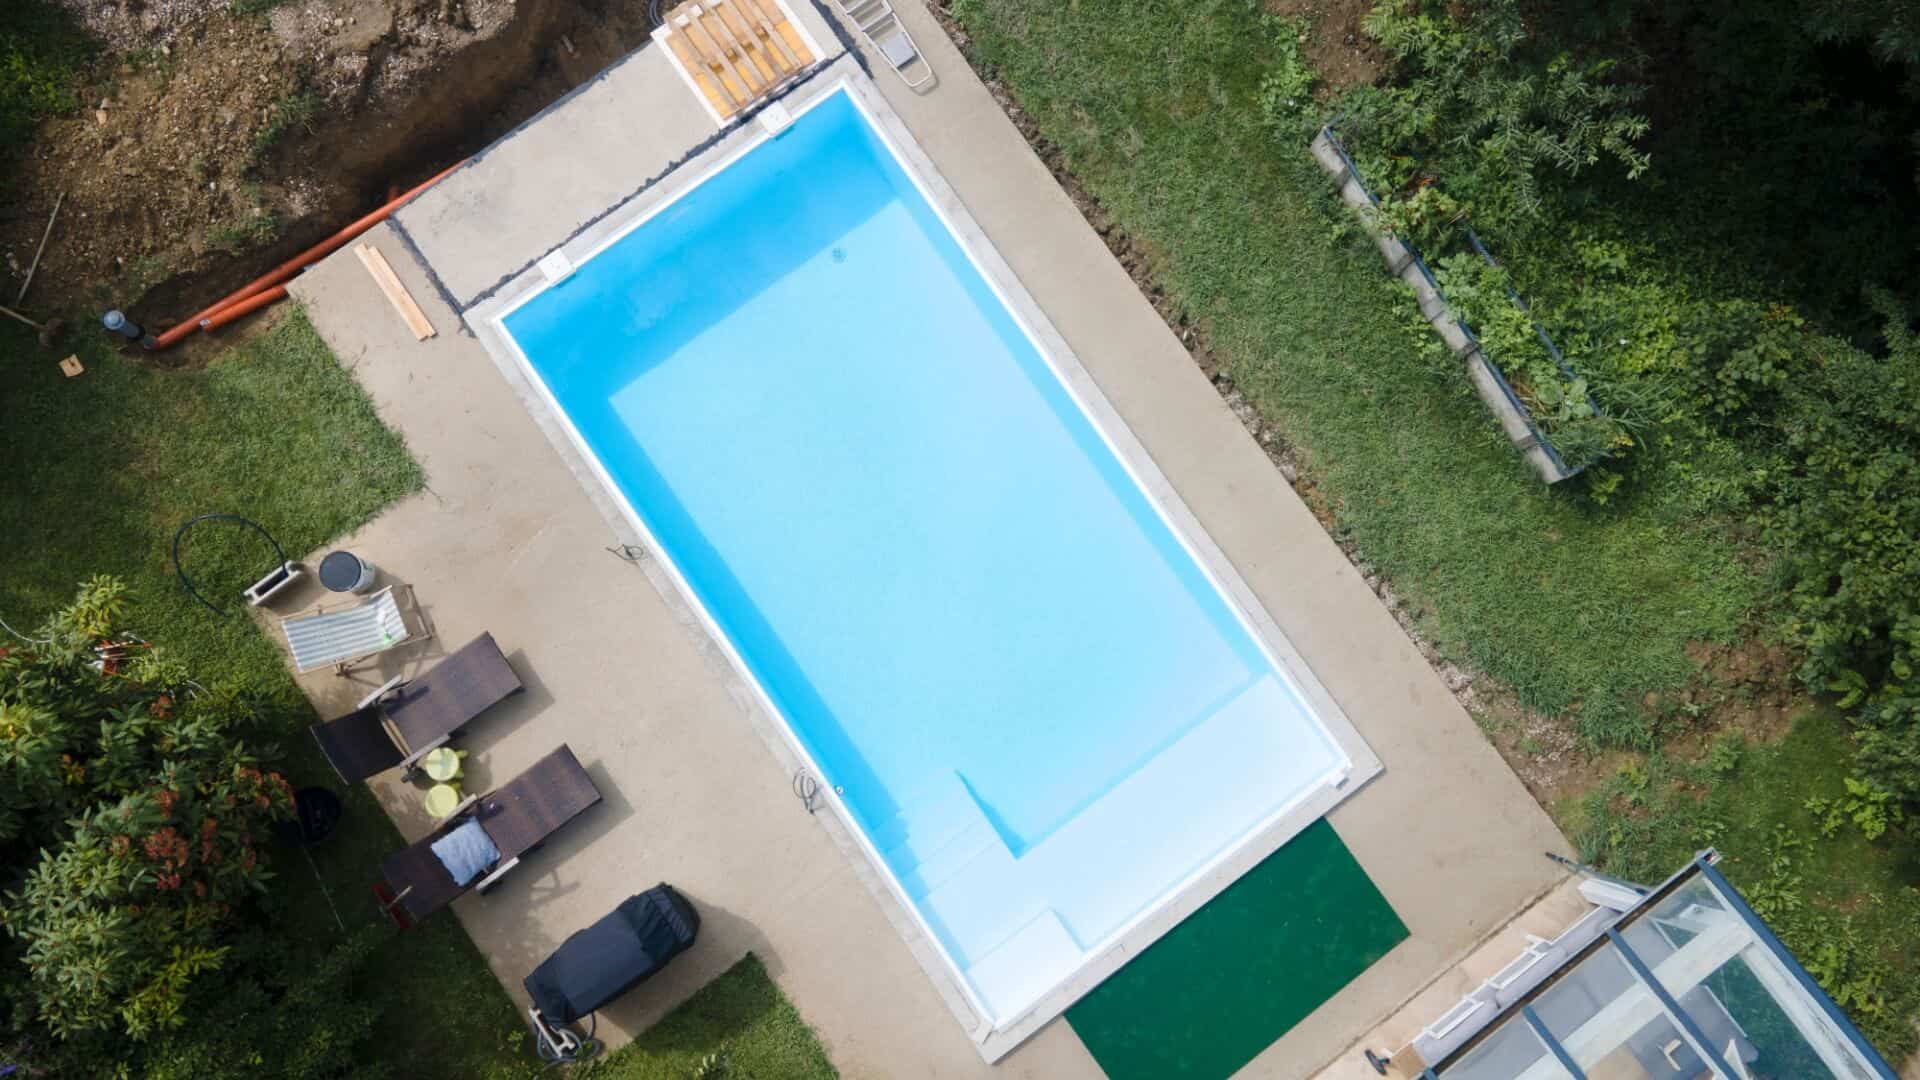
Let’s face it — your beautiful new pool looks ready for swimming, but there’s work to be done first. Think of clean up from pool installation like cleaning a new house—you start with the big messes before tackling the finer details.
Before jumping in (literally or figuratively!), you need a strategic approach. At Aqua Leisure Pools and Spas, we’ve helped countless Pennsylvania homeowners transform their post-construction pools from murky to magnificent. The key is working from the largest debris to the smallest particles, using the right tools for each stage.
Step 1 – Skim & Net Out the Big Stuff
First things first—those rocks, leaves, and construction materials need to go. Grab a heavy-duty leaf rake (the deeper nets work much better than flat skimmers for this job) and start removing anything you can see on the pool bottom.
Protect your hands and your pool by wearing sturdy gloves during this process. Those construction bits can be surprisingly sharp. For vinyl liner pool owners, this step is especially crucial—even small rocks can damage your liner if dragged across the surface.
Work methodically in sections, paying special attention to corners and steps where debris loves to hide. That investment in a quality leaf rake will save you hours of frustration compared to using a basic skimmer net.
Step 2 – Vacuum to Waste for Heavy Sediment
Now that the big stuff is gone, it’s time to tackle that layer of sediment coating your pool floor. This is where many new pool owners make a critical mistake—trying to vacuum through their filter system.
Set your filter to “Waste” mode if you have a multi-port valve. This bypasses your filtration system entirely, sending that dirty water straight out of the pool instead of through your pristine new filter. Don’t have a waste option? A portable vacuum pump can be a worthwhile investment.
Move the vacuum head slowly across the pool floor to avoid stirring up fine particles. Yes, you’ll need to add some fresh water afterward, but your filter will thank you for not forcing it to process pounds of construction sediment.
Starting with manual vacuuming of waste before switching to automated options saves headaches (and equipment) in the long run.
Step 3 – Circulate & Filter 24/7 + Frequent Backwashing
Your filter system now becomes your best friend in the cleanup process. Run that pump continuously for the first 3-7 days—yes, 24 hours a day! This might seem excessive, but it’s temporary and necessary.
Your filter will work overtime catching particles as small as 10-15 microns, but it will need frequent maintenance:
- For cartridge filters: When pressure increases by 8-10 PSI, it’s time to remove and thoroughly rinse the cartridge. During initial cleanup, this might mean 1-3 cleanings daily.
- For sand filters: Backwash when pressure rises 8-10 PSI above your starting pressure, typically 1-2 times daily in the beginning.
- For DE filters: Backwash and add fresh DE powder when the pressure climbs.
A helpful tip: Position your return jets to create a circular flow pattern, pushing debris toward your skimmer for more efficient removal.
Step 4 – Polish Fines with Clarifier or Light DE
By day 2 or 3, you’ll likely see improvement, but those ultra-fine dust particles can still leave your water looking hazy. This is when a quality water clarifier becomes your secret weapon.
Test your water chemistry first before adding any chemicals. Then add an appropriate clarifier according to package directions. For environmentally conscious customers, we often recommend chitosan-based products that work by clumping together microscopic particles until they’re large enough for your filter to capture.
If you’re still struggling with clarity and have a cartridge filter, a light application of DE powder can dramatically improve filtration. But proceed with caution—only use a small amount (1-2 cups for most residential pools) and follow your manufacturer’s guidelines. Too much DE can clog cartridge filters and potentially damage your equipment.
The science here is fascinating—those construction dust particles can be tiny (1-5 microns), smaller than what most filters can efficiently trap. Clarifiers create an ionic charge that draws these particles together into larger clusters that your filter can handle.
Step 5 – Balance Water & Surface Brush
The final step in your pool installation clean-up journey combines chemistry and elbow grease. Now it’s time to:
- Balance your water chemistry with pH between 7.4-7.6 (the sweet spot for both chlorine effectiveness and swimmer comfort). Establish alkalinity between 100-150 ppm to help stabilize that pH level. Adjust calcium hardness appropriately for your pool type (usually 200-400 ppm), and bring chlorine to 2-4 ppm to prevent any algae from getting ideas about moving in.
- Thoroughly brush all surfaces, especially walls and steps, where fine particles settle. For vinyl liner pools, use a soft-bristle brush to avoid scratching. Fiberglass pools can handle medium-soft brushes, while concrete or plaster pools benefit from slightly stiffer bristles to remove surface dust effectively.
Proper water balance isn’t just about clarity — it protects your new pool surfaces from scaling or etching, particularly important for new plaster pools. Taking the time to get this right now means fewer maintenance headaches down the road.
Contact Aqua Leisure Pools & Spas for Your Future Oasis
Here at Aqua Leisure Pools and Spas, we’ve guided countless Pennsylvania families through this exact process. From our Scranton neighbors dealing with clay soil to our Doylestown friends battling windblown debris, we understand the unique challenges of post-installation cleanup in our region. Our team is always just a phone call away if you need a helping hand or simply have questions about your specific situation.
For more information about keeping your pool pristine year-round or to schedule professional help with your post-installation cleanup, visit our website or contact your nearest Aqua Leisure Pools and Spas location. We’re committed to helping your pool remain the crown jewel of your outdoor living space for many summers to come.
Posted by Aqua Leisure Pools & Spas in Pools